Tempering chocolate used to drive me crazy. There were several years there where I’d make chocolate dipped shortbread to send around to friends and family as gifts for the holidays. I would grit my teeth, pull out my electronic thermometer, marble slab, and heating pad, then fuss with getting my chocolate up to 130F, then down to 88F, then back up — just a hair of a hair, mind you — to the point of liquidity.
Achieving and maintaining those precise temperatures required constant vigilance. It always made a huge mess. And half the time, despite my best efforts, I missed my marks anyway, and my chocolate-dipped treats turned out streaky and waxy and gross, and totally unfit for service in yuletide care packages — or anywhere else.
I hate chocolate! I finally exclaimed, throwing up my hands in defeat and resigning myself to the fact working with the stuff wasn’t my thing. I’ll do gingersnaps, I decided. And lace cookies, and amaretti, and chocolate chip cookies. But chocolate dipped anything is right out. Not in the cards for me. No sir.
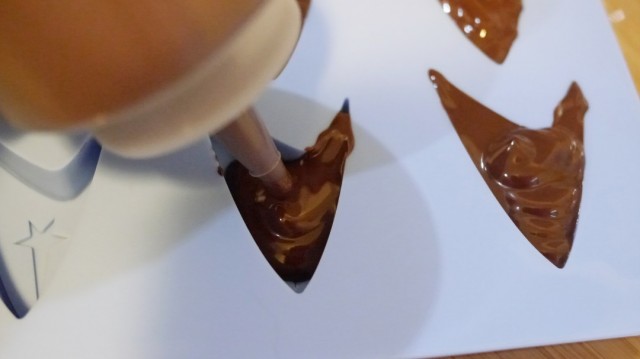
But now, after several years of quiet, all this business of tempering chocolate has appeared on my radar again. I’ve been preparing on and off for a benefit dinner party — something especially fancy that Sarah and I are putting together — that I’m sure you’ll hear more about as the date approaches. I’ve decided that said dinner party requires molded chocolates as part of the dessert. I can’t seem to think my way around that inconvenient fact. So earlier this week, I decided: no time like the present to give tempering another try.
So I did some research, poking around in the online machine’s deepest, darkest, fudgiest forums. And lo and behold: what did I find? Something called the seed method!
The seed method is an alternate technique for tempering chocolate that’s relatively quick and simple, and leans much more toward fool proof than traditional tempering. It’s imperfect — chocolate tempered with the seed method seems a bit more apt to melt in your hands than with the traditional technique. But the chocolate has a nice snap and no streaks, which is more than good enough for my purposes, and impressive (if I do say so myself) for someone who is definitely not a chocolatier.
In order to understand the seed method, it’s important first to understand what tempering chocolate is. Chocolate, as in the molded kind, is basically a crystalline form. It can exist in any one of six different configurations. Five of them are kind of goopy and meh, but the sixth (I think it’s actually form five) is shiny and dense, with an even texture and a good snap when you break it in half. Think of a really high-end dark chocolate bar — perhaps a Dagoba Eclipse — and you’ll get the idea.
What it means for chocolate to be in temper is that most of its structure exists in that most desirable of crystalline forms. Traditionally, this has been achieved by heating it, then cooling it, then heating it again. But like I said — it’s maddeningly finicky.
The innovation of the seed method is that it relies on the properties of crystals to make all that work easier. It relies on the fact that when you put material that’s want to crystalize next to existing crystals of some desirable type, the material will more or less fit itself to the same mold. So you add existing tempered chocolate to melted chocolate, you stir, and — what do you know? — more tempered chocolate!
Or as the good folks over at Cooking for Engineers write: since almost all the chocolate that is sold is already tempered, we can use a piece of this already tempered chocolate as a plentiful source of seed crystals.
Here’s how it works, step by step:
- Start with an 8 oz bar of good quality 60% or 70% baking chocolate. I’ve been using Ghirardelli, which has a pretty good price / quality ratio.
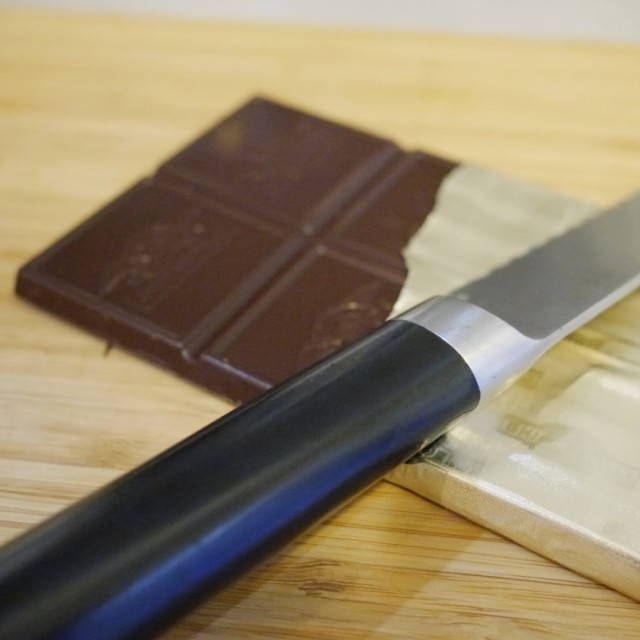
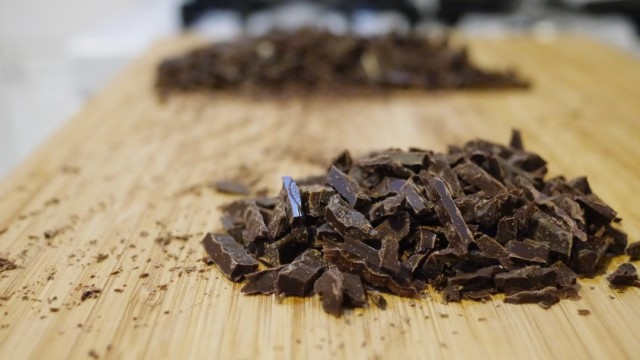
- With a serrated knife, chop the chocolate into little chunks. Going over it roughly in one direction then the other should do the trick.
- Add about an inch of water to the bottom of a saucepan and heat it over a low flame on the stove. Place a metal bowl on top of the saucepan to create a double boiler (or just use a double boiler if you have one). Make sure that no steam is escaping from the saucepan because water will break your melting chocolate, and you’ll end up with a big, oily, unusable mess.
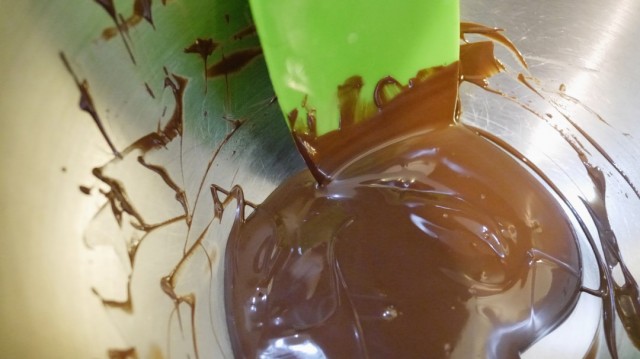
- Add two thirds of the chopped chocolate to the double boiler, and stir constantly with a spatula until it all melts and runs smooth.
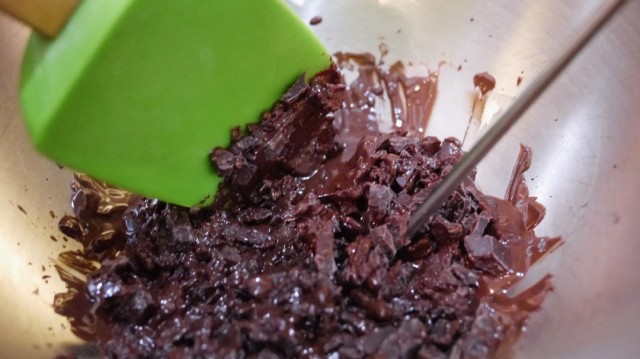
- Then remove the melted chocolate from the heat, add the remainder of the chopped chocolate, and stir vigorously until the whole thing has melted and has an even texture.
And there you have it. Seed tempered melted chocolate. That’s the whole thing.
It’s possible that you’ll need to reheat it for just a second over the double boiler to get it to the liquidity you want, but I haven’t found this to be the case. I’ve gone straight from mixing in the seed chocolate to pouring my molds with really excellent results. And I’d have no qualms about dipping cookies, or fruit, or whatever under exactly the same circumstances.
Like I said: the seed method — at least as far as I’ve found — doesn’t yield a perfect, gleaming, melt-in-your-mouth-but-not-in-your-hand temper. I probably wouldn’t use it if I was making something where judgmental chocolate connoisseurs were in the room.
But it’s an order of magnitude easier to accomplish than traditional chocolate tempering. And the results have been pretty enough that when I present my fancy dinner-party guests with molded chocolates in their dessert, I will have no embarrassment at all.
The seed method is definitely a winner.
