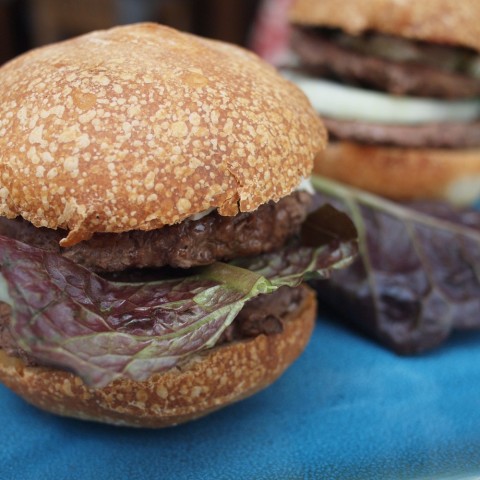
Grilling time is here again, and I’ve been thinking a lot about something. I don’t know about you all, but when I’m getting ready to cook burgers outside, especially for friends, I put a lot of thought and effort into finding the right kind of pastured, sustainable, local meat. I am careful to gather and slice only the snootiest organic tomatoes and cucumbers to use as a topping. I go shopping at the fancy cheese store for the most complementary dairy accompaniments. And I’m even pretty careful about which lump charcoal I use.
But when it comes to the buns, it’s kind of a different thing. Though in other circumstances I am a total bread snob, often as not I end up using those horrible, squishy packaged jobs from the cut-rate grocery down the street. And it’s not just a matter of convenience. When I think about those buns at all, it’s with a little shot of pleasure.
It seems to me that the reason for such an egregious break with my own personal foodie orthodoxy has everything to do with sense-memory from childhood. I ate lots of grilled hotdogs and hamburgers as a child. I know I did. But my memories of being a happy kid at a picnic or a ballgame have little to do with the salty-sweet, indistinctly meaty taste of giant corporate Hebrew Nationals. My memories have little to do with the char-and-umami smell of pre-formed supermarket patties. And they have everything to do with the feel — both in hand and in my mouth — of bland, spongy, eggy bread filled with ketchup, mustard, and sauerkraut.
Bad buns, in other words, is where my childhood cookout nostalgia lies.
And yet — like the man once said — the time comes when one must put away one’s childish things. When I was a child, I spake as a child, I understood as a child, and I ate burgers on childish buns. But now I see through a … um … glass of fancy dark craft-brew, and it leaves me with a another perspective entirely.
Which brings me to this week’s experiment: homemade hamburger buns.
What you all need to know about these homemade buns is that though they’re fancier (and tastier, and all-around better) than packaged grocery-store buns, they’re not actually all that fancy. They’re a straight dough, which means that they don’t require any sponges or pre-ferments or any other kind of preparations the night before. They’re a white bread, which means that you only need to have the one kind of flour in your house. And the only thing that separates them from a one-hundred percent lean dough is about two tablespoons of olive oil.
If we were to judge just on the number of ingredients in the bread, in fact, these wouldn’t be fancy at all. The grocery-store variety is made of somewhere around eighteen kinds of … things. Whereas my buns have six.
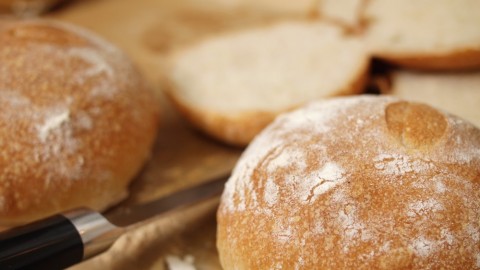
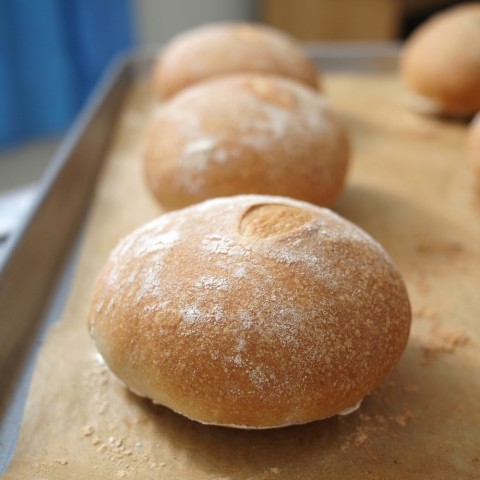
And yet, as I was thinking about this bread formula, I did take my childhood nostalgia into consideration. It seems to me that the thing I liked so much about the grocery-store buns when I was a kid was the fact that they were soft, and a little bit floury. And I’ve tried to recreate those features here. My hamburger buns have a nice, thin crispy crust on the outside. But the olive oil does indeed lend them a soft crumb. And the quantity of flour with which they need to be dusted to form them into balls does indeed give them a pleasant flouriness on their surface.
If there’s anything challenging, here, about making my version of hamburger buns, it’s that they are a fairly high hydration bread. If you’re not used to sticky doughs, this one could be somewhat frustrating. But with a dough scraper, a little technique, and some cold water in which to moisten your hands, the dough is neither actually hard to make, nor hard to shape.
And for delicious, homemade rolls that match in thought and flavor the other ingredients on your grilling-day plate, they’re totally worth the effort!
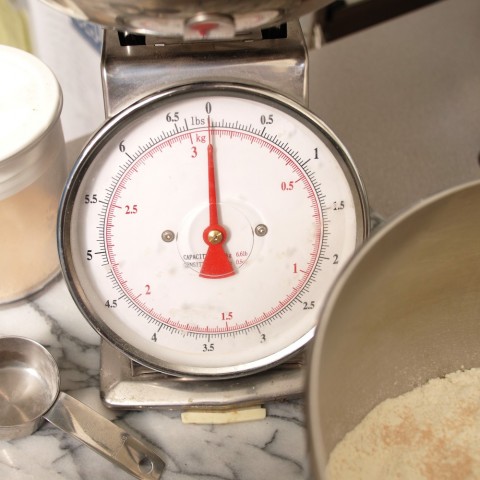
475 grams Unbleached AP White Flour
330 grams Filtered Water
30 grams Extra Virgin Olive Oil
25 grams Vital Wheat Gluten (optional. Can be replaced with more AP White.)
1.5 tsp Salt
1 tsp Yeast
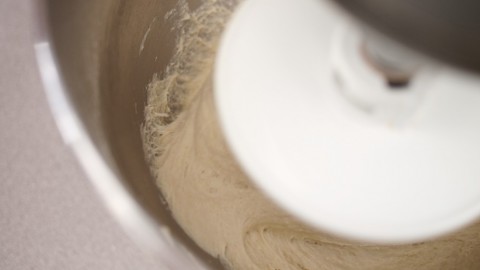
To the workbowl of a stand mixer, add all of the ingredients and mix on low with the dough hook attachment until it has all just about come together. Then up the stand mixer to low-medium (that would be setting four on my KitchenAid), and knead for about fifteen minutes, or until the dough stands up to the windowpane test.* Even at this point, the dough will remain soft and sticky. Such is the nature of high-hydration breads.
Once the dough is kneaded, move it to a second well-greased bowl, form it (as best you can) into a ball, and cover. After twenty minutes, stretch and fold the dough: starting from one side, pull the dough up until it has quite stretched out, and fold it over the rest of the dough ball; turn the bowl ninety degrees and repeat, then repeat again two more times until you’ve done it to all four sides.
Re-cover your folded dough (which should now have some additional structural integrity), and allow it to rise for two and a half hours, or until it has more than doubled in size.
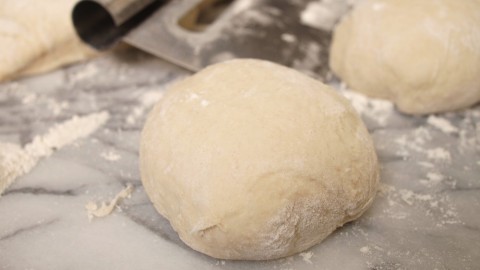
Once the dough is risen, turn it out onto a well floured board or counter. Divide the dough into six equal pieces (they should each be a bit under 145 grams if you’re weighing — which I don’t). And shape each piece into a ball, being sure, as much as possible, to create surface tension in your buns.
Preheat the oven to 510F (or however high it will go without broiling), move the balls of dough onto a parchment-lined baking sheet, cover with plastic wrap or a damp kitchen towel, and leave them to proof for about an hour.
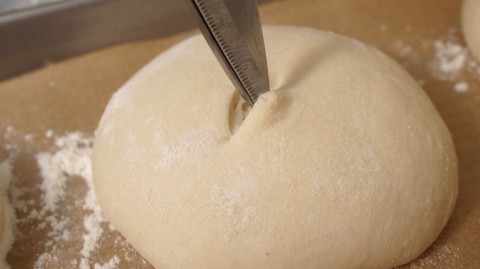
At the end of that hour, with a pair of kitchen shears, snip a navel (you can see why I call it that) into the top of each bun. Load your buns into the oven and spray the walls of the oven, three times at thirty second intervals, with water (to create steam). Then turn the heat down to 450F and allow the bread to cook for 25 minutes.
At the end of that time, remove the buns to a wire rack, and allow them to cool completely before serving.
* The windowpane test is a method by which to check whether you’ve kneaded your bread enough. To do this, take a small ball of dough, hold it between your thumbs and forefingers, and then spread it by pulling it apart. If it will pull thin enough that you can see light through it, its gluten is adequately developed and you can stop kneading. If it rips, give it another couple of minutes and try again.
