Call it a gobbler, a motherclucker, even Big Bird (if you’re a certain, recently-former presidential candidate). I’ll know what you mean. Turkey is the centerpiece of almost every Thanksgiving meal. And it’s the centerpiece of stress — believe me, I know — for more than a few holiday cooks.
For first-time turkey-cookers, the problem is its daunting size, its relative expense, the pressure — in front of friends and family — to get it just right. While for we who are wise to the way of the bird, it’s no less harrowing. Every turkey is different. And just because guests oohed and ahhed at last year’s model — well — past performance doesn’t necessarily translate to future results.
But no matter the cook, the problem with turkey is actually pretty simple, and it’s not your fault. The problem with turkey is that in the hierarchy of good-to-eat bird-meat, it ranks somewhere near the bottom. It’s kind of a foul fowl.
A shame, really, because turkey is absolutely required for a Thanksgiving meal. And replacing it with duck, or leg of lamb, or individual-sized game hens is a recipe for tension, and squabbling (not gobbling!), and being asked very politely to let someone else take over the Thanksgiving duties next year. Believe me. I know this, too.
Would that we could be more like our medieval ancestors (in this one respect). In the Middle Ages, at big important feasts, the chefs to big important people would serve roasted peacock, with its feathers still attached. It made for a very impressive showpiece. But the problem, they soon found out, was peacock meat is not, by any stretch of the imagination, good to eat.
So what did they do?
Their employers really wanted the impressive centerpiece. But they also really wanted it to be — edible. So medieval cooks would basically scoop out the peacocks’ insides, then fill them up with the meat of more delicious birds, sew the whole package back together, and serve that.
The eye was happy. The tongue was happy. And nobody got stuck with the dry, stringy bits.
We cannot — alas! — do that with our turkeys, but there are, in fact, some things we can do to improve them. If you want a good bird — one that is flavorful, and as tender as a turkey ever gets — I’d suggest the following:
- Don’t skimp on the bird. There’s a great temptation, when you’re buying ten or more pounds of meat, to take the plunge for the cheapest turkey you can find. Resist this urge. A frozen bird-lump may be nice for your wallet, but it definitely won’t be for your teeth. Go to your local food co-op, or to your farmer’s market, or barring that, a reputable butcher. Look for local, first. Then, if possible, organic and free-range. You want a bird that’s never been frozen, and that hasn’t travelled very far to get from farm to table. And you want to order ahead of time, because these kinds of birds sell out quick.
- Invest in a probe thermometer
. I’m sure I’ve said it here before, but I’ll say it again. When you’re roasting meat in an oven, a probe thermometer
is your best friend. Turkeys already have a tendency toward toughness. The best way to avoid making it worse than it has to be is to cook your bird to 165F — and no more. And the only way to do that with any kind of surety is to monitor your meat constantly. Hence — probe thermometer
.
- Keep your oven hot, but not too hot. Low and slow, the experts say, is the best way to end up with tender meat. While this is true, a turkey offers a peculiar kind of challenge. On the one hand, you do want tenderness. But on the other, we all live for the crispy skin, and those gorgeously crunchy wing tips (they never make it out of the kitchen, for me). I do my roasting at 350F, because I find that it offers a pretty good balance for skin and meat. You end up with a bird that’s nice and brown on the outside, but which in no way resembles an ancient mummy in the breast.
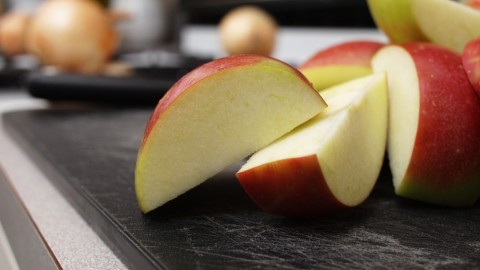
- Fruit, not stuffing. The problem with stuffing, as you all surely know, is that if you stuff, you have to cook the bird until the stuffing is safe to eat. So — if the bready bits in the cavity need to be 165F in the middle before the turkey comes out of the oven, that means that the meat around it needs to be what — a zillion degrees? — before the turkey is done. This is a recipe for birdy mummification. Instead, I would recommend filling the cavity with apples, onions, and prunes. The fruit bastes the bird from the inside as it cooks; and then, when the meat is done, you can remove the fruit and cook it further — as part of the gravy — so that everything stays salmonella-free.
- Truss (but verify). You definitely want to truss your bird. Using butcher’s twine to bring the wings up against the body, to bring the knees and ankles together, to produce a tight little turkey package assures more even cooking in the oven. And even cooking is what you want, so that the whole turkey is done at as close to the same moment as possible.
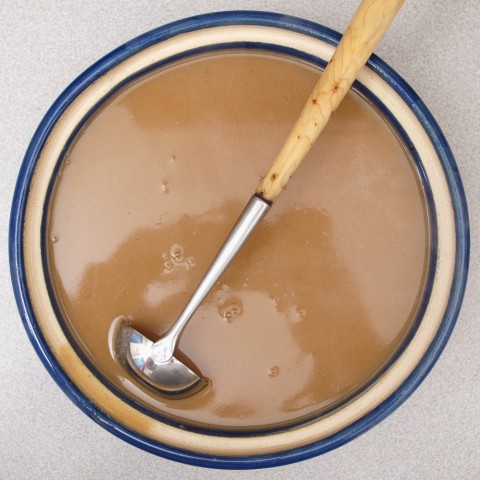
- Good gravy! Don’t throw away those pan drippings! Don’t throw away the fruit from inside the turkey’s cavity! Instead, make gravy! Being itself moist, gravy makes up for a multitude of sins. If your turkey’s breast is a little dry: gravy it! If your mashed potatoes are lumpy: gravy them, too! In the world of turkey, gravy is key. And you would be depriving your Thanksgiving guests if you did not offer it (or if, gods forbid, you spooned your gravy from a can!).
You’ll note that, among my turkey tips, I did not recommend brining. That was not an omission. I’ve tried turkeys both ways — brined and not — and though there is a contingent of folks out there who insist that brined bird is better, I have to respectfully but forcefully disagree. You do indeed get a juicier bird when you brine. There’s no question about that. But there’s a trade-off. If turkey has a redeeming culinary quality, it’s the distinctiveness and intensity of the flavor of its meat. And I have found that brining spoils that. A brined turkey will taste like brine, not turkey. And that definitely is not my cup of tea.
For the Turkey
1 Whole Turkey (mine was a ten-pounder)
5 cups Turkey Stock (I actually use chicken stock, but turkey is better, if you have it)
6 Pitted Prunes*
3 Apples, cut into slices
1 Large Onion, skinned and cubed
6 Cloves of Garlic, crushed
2 Bay Leaves
2 tbsp Rosemary
Olive Oil
Pepper
Salt
For the Gravy:
.25 cups Butter
.25 cups Flour
2-3 cups Turkey (or Chicken) Stock
The Pan Drippings, Onions, Prunes, and Apples from the Roasting Pan
1 Turkey Liver (from among the turkey’s gibblets), chopped
Pepper
Salt
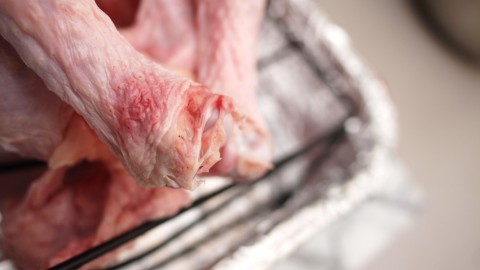
Preheat your oven to 350F. Wash the turkey, and pat it thoroughly dry, inside and out. Line a roasting pan with tin foil. Into the roasting pan, place a rack, and on that rack, your turkey.
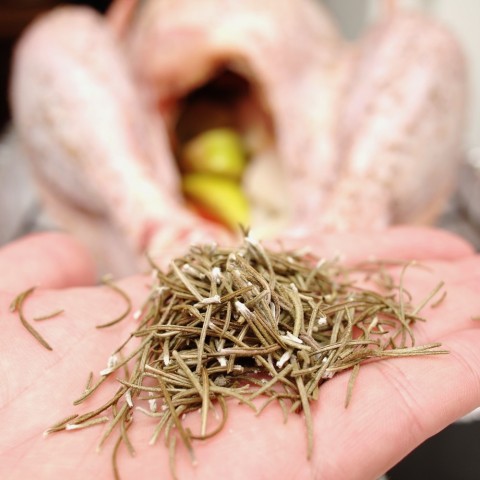
With a pastry brush, brush the turkey generously — all over, inside and out — with olive oil. Season liberally, inside and out, with salt and pepper. And then, into the cavity, place the rosemary and bay leaves, all of the garlic, as many of the prunes, and as much of the onion and apples as will fit without forcing it. Any prunes, onions or apple that won’t fit, scatter in the bottom of the pan.
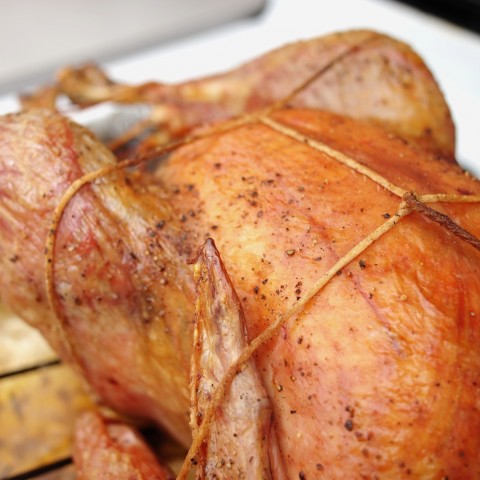
Use butcher’s twine to tie up your turkey, pinning the wings to the breast, and drawing the legs together both at the broad end of the drumstick and at the narrow. Insert a probe thermometer into the deepest part of the breast. And place the whole package in the oven.
When the turkey reaches 100F inside, baste with three cups of stock, and turn the roasting pan one hundred eighty degrees. When it reaches 150F, baste it with two more cups of stock, and turn the bird again.
When the turkey reaches 165F, it is done. Remove it from the oven, remove the apples, onions, and prunes — and any drippings — from the cavity of the bird and from the pan. Then cover loosely with tin foil and allow it to rest for at least a half hour.
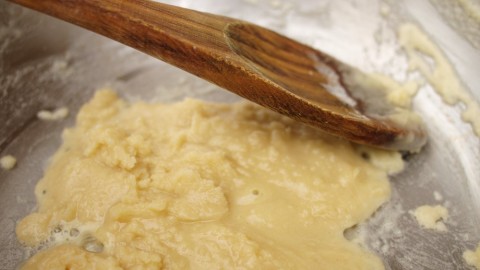
In the meanwhile, to make gravy: To a three-quart saucepan over medium-low heat, add a quarter of a cup of butter, and a bit more than a quarter of a cup of flour. Stir together into a roux, and allow it to cook, stirring regularly, until it is just golden brown.
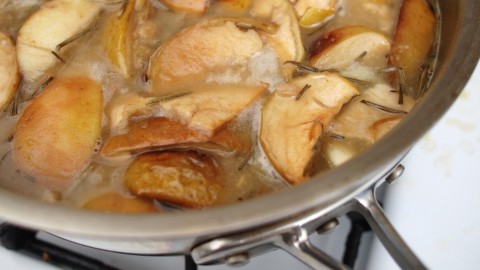
To the roux, add the pan drippings from the turkey, the roasted onions, prunes, and apples, the liver, and 2 cups of stock. Whisk thoroughly, and keep whisking until it comes to a boil. As the mixture boils, it should thicken. Gauge its thickness, and add the remainder of the stock, as necessary, to thin. Remember, the gravy will cook down. So you want it to be a little bit thinner, in this step, than you desire in the end.
Allow the gravy to cook for about twenty minutes, stirring regularly. At the end of that time, pass it through a sieve to remove any solids, season with salt and pepper, thin further as necessary, and serve.
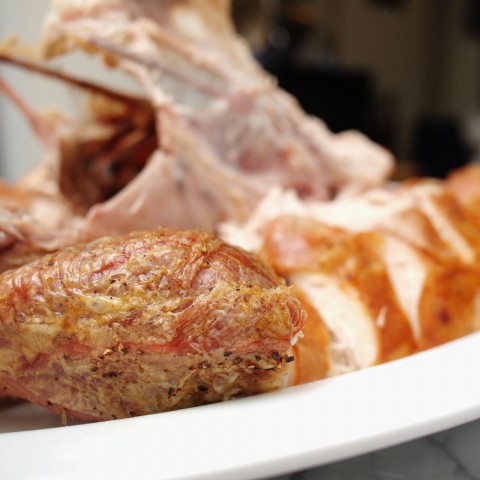
Carving a turkey, unfortunately, is a whole other post. But I will say this: I would recommend not carving slices directly from the breast, like they do in the movies. Instead, treat the turkey like a chicken: carve the breasts off the bone whole, and then slice them, separately, on a cutting board. You can more easily get at much more of the meat, that way. And it’s easier to make sure that the delicious, delicious skin remains attached.
* Truth time. I actually omitted the prunes this year. But I’d strongly recommend them, even if you don’t like prunes on their own. They add lots of good flavor.
